
Ticketed Events — Sell Tickets on Your Floor Plan
Enable ticketing, turn your floor plan into a seat map with price zones and places, create an event with sessions and ticket types, and sell seated, whole-table or standing tickets — free or paid — from your website and the reservation widget.
Enable Ticketed Events in Reservation.Tools
Ticketing is a cross-platform feature: the floor plan and door tools live in Reservation.Tools, while events, tickets and money live in Ordering.Tools.
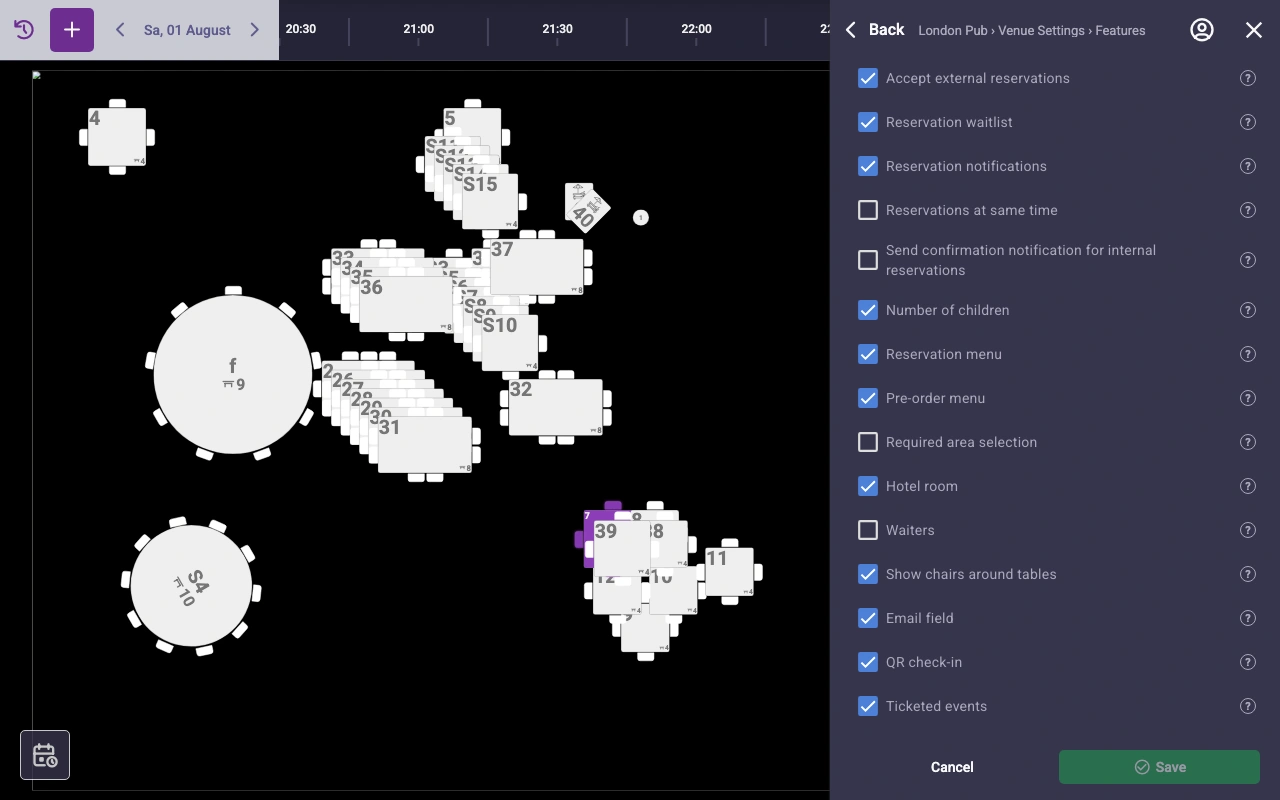
In the Reservation.Tools app, open Venue Settings → Features and switch on Ticketed events, then save. This unlocks the ticketing tools for the venue:
- the Zone tool and the Seat table type in the floor plan editor
- the Tickets view on the reservation list
- the door check-in screen
When the switch is off, the classic agenda events keep working as before — nothing changes until you opt in.
The switch is per venue. In a multi-venue account you can run ticketing at one location first and roll it out to the others later.
Prepare the Floor Plan: Zones and Places
Open your floor plan in the editor. This is the same plan your host runs every day — for ticketing it becomes the seat map.
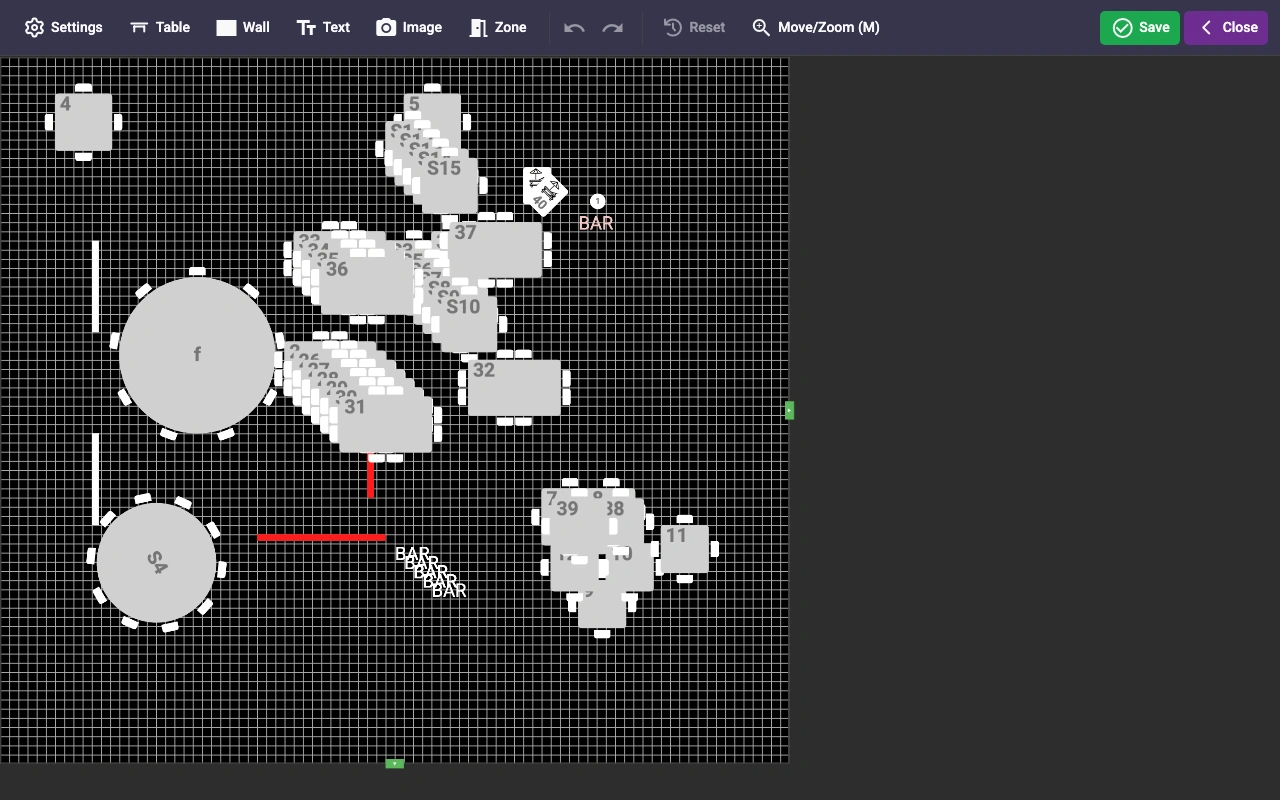
- Click Zone and a price zone drops onto the layout. Drag its corners to cover the right part of the room (double-click a corner to edit vertices).
- Click Table to add a table inside the zone — or use the tables you already have.
- To sell single seats, select a table and change its Table Type to Seat in the properties panel: it becomes a small numbered circle for one guest, with an optional Row label.
- Use Clone (Ctrl+D) to repeat a place — clone it along a line and you have a row of seats in seconds.
- Give each zone a price class (VIP, Standard…). Capacity of a seated zone computes itself from the tables inside it.
Save the plan when the layout is ready.
A seat is just a table with one place — it reserves, sells and appears on the floor plan like any other table, so nothing else in your workflow changes.
Define Price Classes in Ordering.Tools
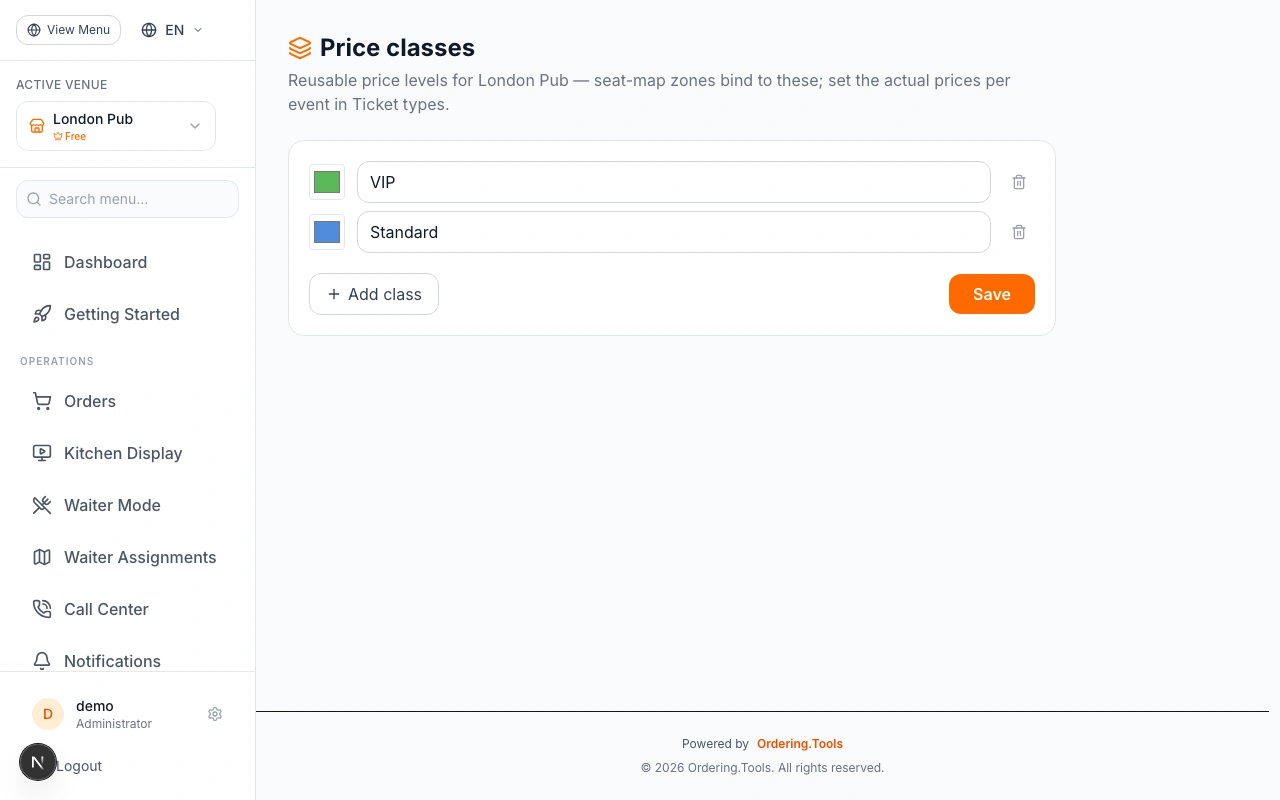
In the Ordering.Tools admin, open Events & Tickets → Price classes. A price class is a named, coloured, reusable level — VIP, Standard, Front Row — and it is what the zones on your floor plan point at.
Define the classes once; the actual amount each class sells for is set per event. That way the same room can be priced completely differently for a Friday concert and a Sunday tasting, without touching the floor plan.
Several zones can share one price class — the zone's colour on the seat map comes from its class, so guests instantly see which areas cost the same.
Create the Event, Sync the Seat Map, Add Sessions
On the Events page click New Event: give it a title, choose Reserved seating (or General admission for standing-only nights), and set when it starts.
Then, inside the event:
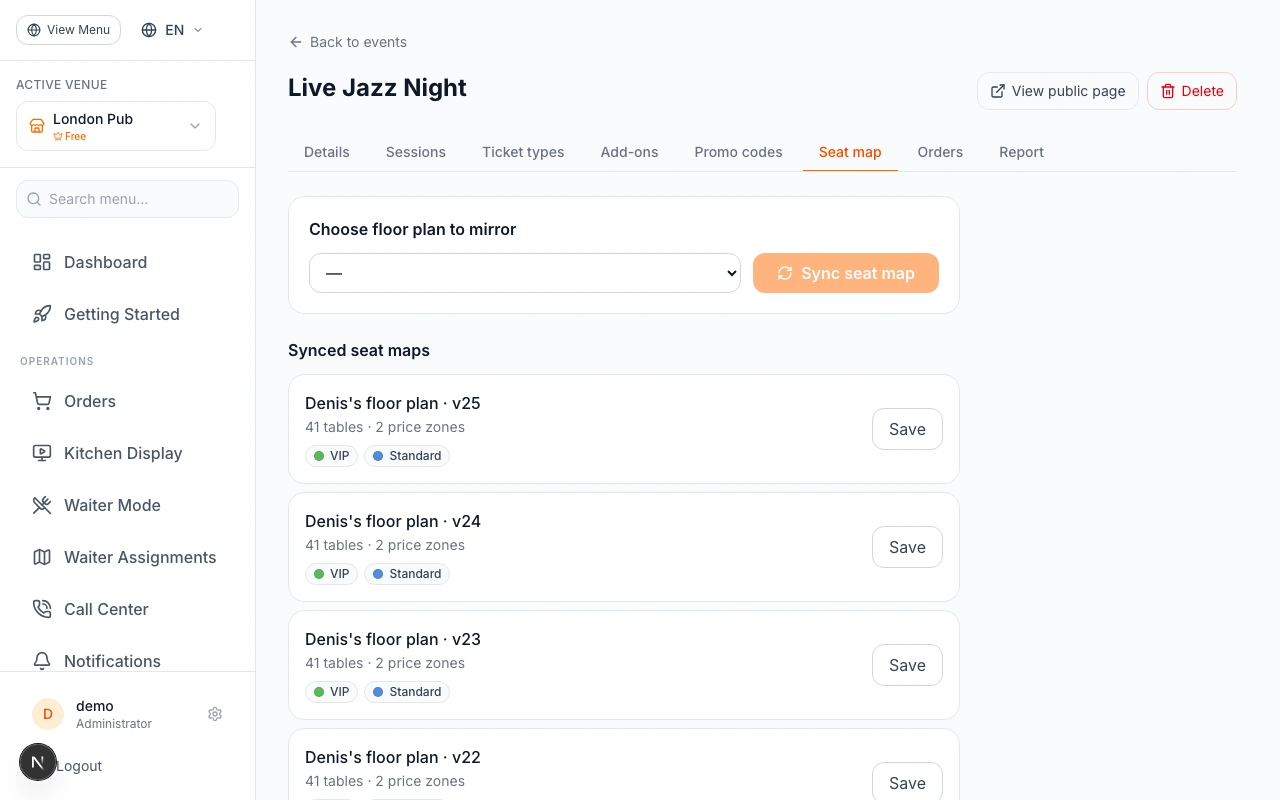
- On the Seat map tab, pick your floor plan and click Sync seat map. Ordering.Tools mirrors the layout — zones, tables, places — into a frozen version and attaches it to the event, so later plan edits never move a sold seat.
- On the Sessions tab, add the dates the event runs. Each session sells its own inventory, and recurring events can generate a whole series.
Re-sync after changing the floor plan and attach the new version — printed tickets keep pointing at the tables they were sold for.
Ticket Types, Going On Sale, and the Promo Link
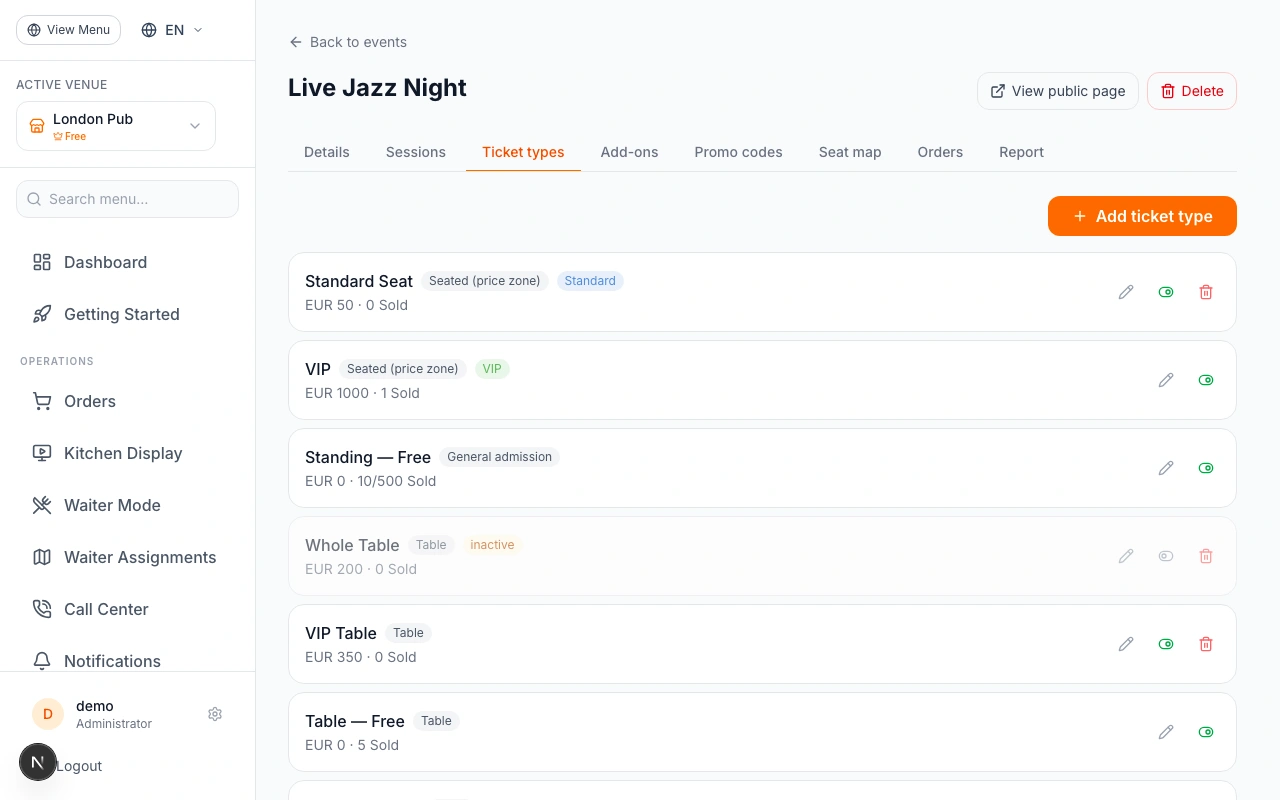
On the Ticket types tab, price the event:
- General admission — standing room with its own capacity. Price zero makes it a free RSVP ticket that confirms instantly, with no checkout.
- Seated (price zone) — bound to a price class: every place in that class's zones sells at this price, and guests pick their exact seat on the live map.
- Table — sell whole tables; a table purchase issues one ticket per place at that table.
Back on Details, switch the status to On sale and save. Two things worth knowing there:
- Entry by ticket only blocks regular online reservations during the event's hours, so nobody double-books a table the event is using.
- View public page opens the event's own page — its address is the direct link you share on social media, posters and ads.
Paid tickets charge by card through your own payment account (Stripe, myPOS or Borica) — ticket revenue settles exactly where your order revenue does.
Selling, and the Night Itself
Guests buy from two places:
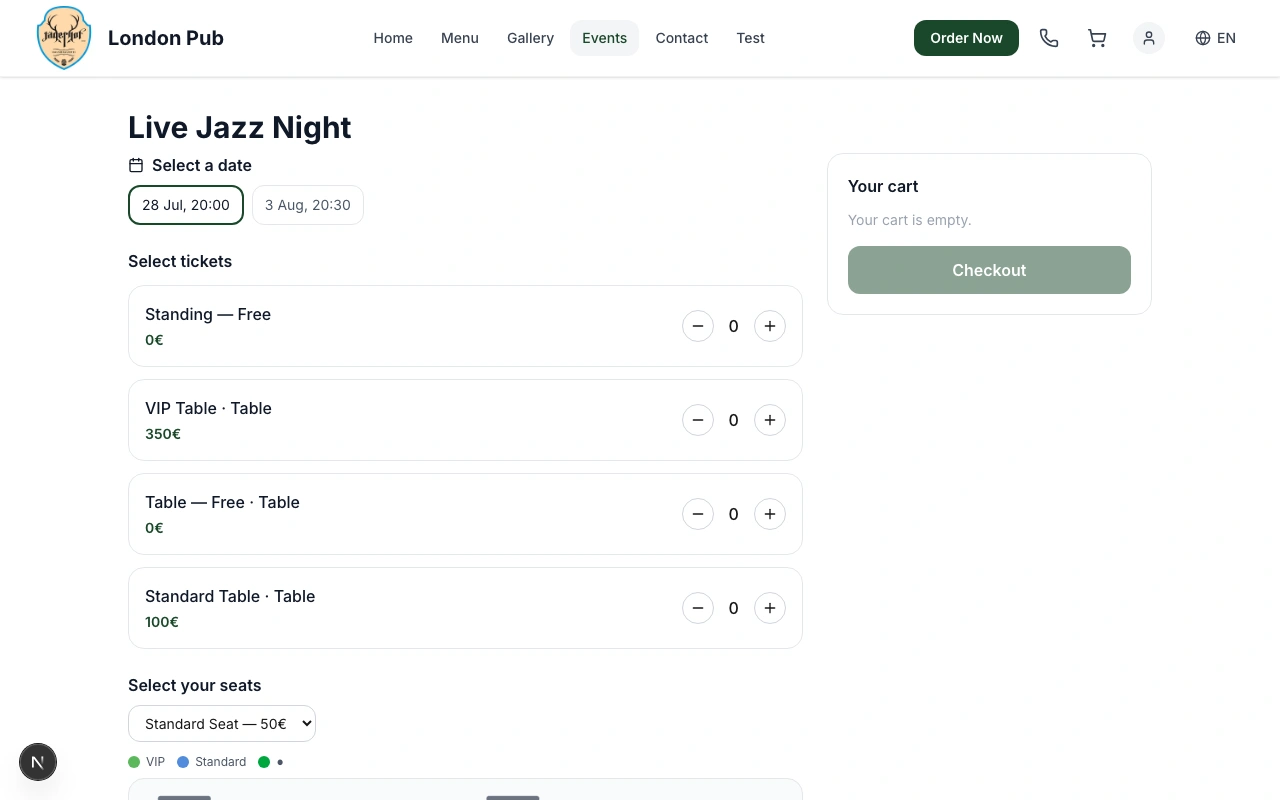
- The event page on your website — session picker, ticket selection, live seat map, card checkout. Free tickets skip payment entirely.
- The Reservation.Tools booking widget — a guest reserving a table sees the event right in the calendar and can buy a ticket from there.
Every buyer gets a personal QR ticket per guest — as a PDF by email and as an Apple or Google Wallet pass — and every order lands in your reservation book with the buyer's name and party size.
At the door, scan tickets with the check-in screen: a scanned ticket is marked used, a duplicate scan is rejected, and when a party's tickets are all in, their reservation is seated. The per-event report shows sold, checked-in and revenue as it happens.
Refunds — full or single-ticket — put seats straight back on sale and void the wallet passes, so a dead ticket can't get past the door.
Ready to Get Started?
Apply what you've learned and set up your restaurant in minutes