
Setting Up a Lunch Menu
Give each day of the week its own time window and dish list — it appears on the site automatically while the window is running and disappears the moment it ends.
Open Lunch Menu Settings
Open "Lunch Menu" from the admin sidebar, under Menu & Catalog. The page starts with the menu switched off — nothing changes on your site until you turn it on.
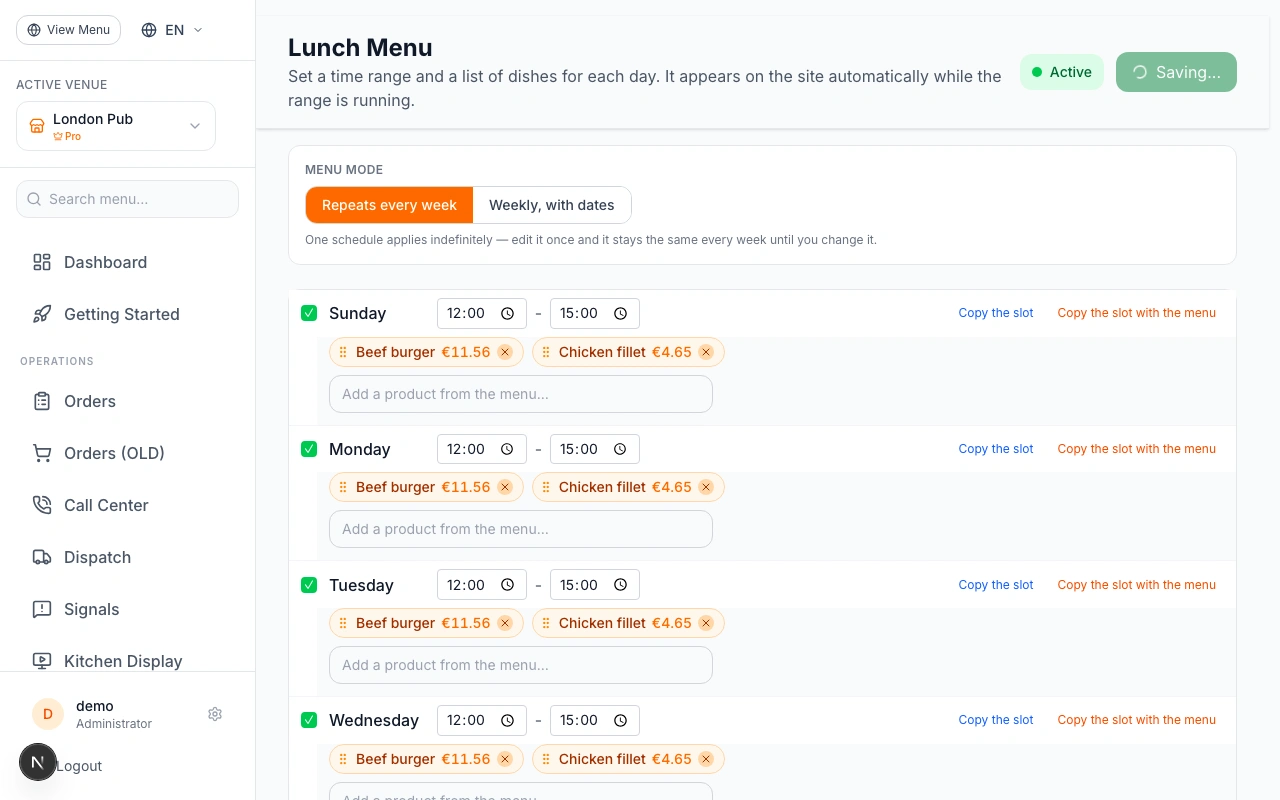
Below the switch, pick a mode: "Repeats every week" applies one schedule indefinitely, while "Weekly, with dates" lets you set a different menu for each individual week.
Building out the days and dishes first, then flipping Active on when you're ready, works just as well — the switch and the schedule are independent.
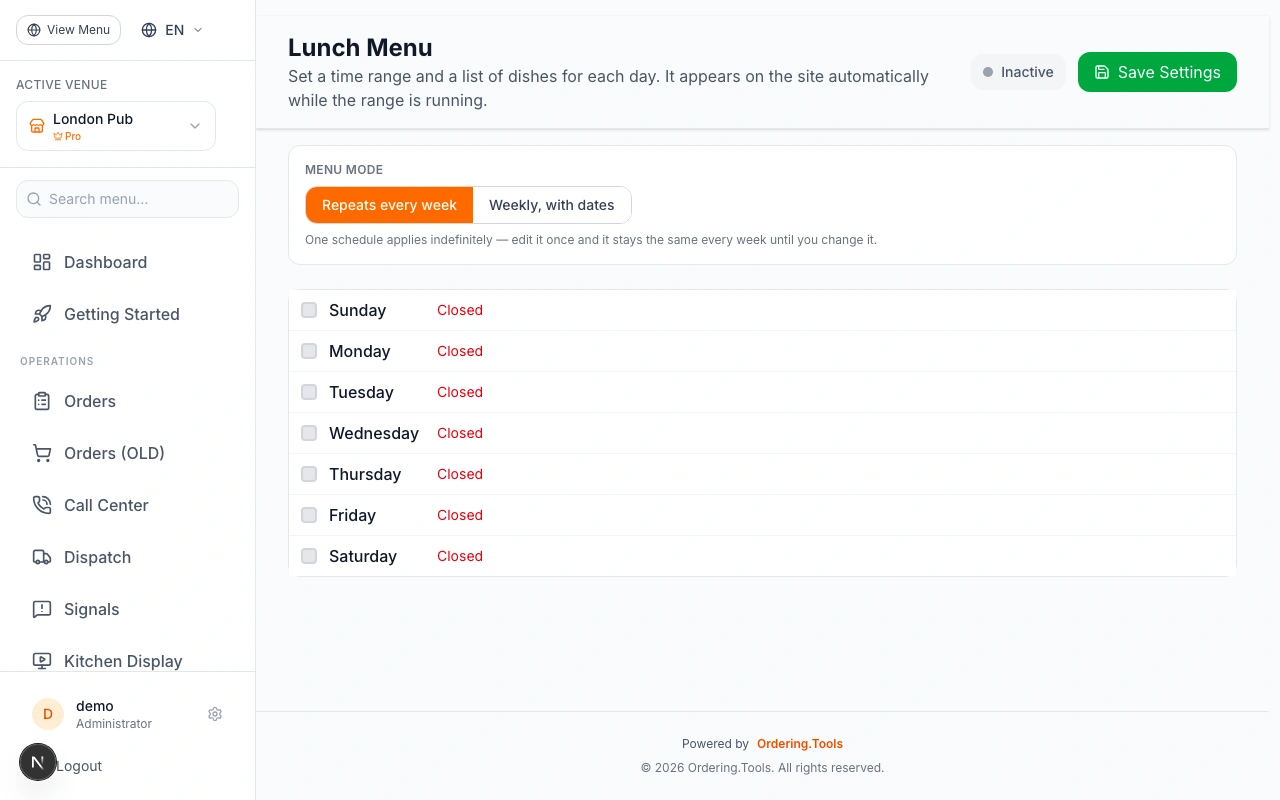
Flip Active — It Saves Instantly
Click "Active" at the top. Unlike the day editor below it, this switch saves the moment you click it — there's no Save button to remember.
With it on, the lunch menu becomes visible on your site as soon as at least one day has an open time window with dishes in it.
Switching between "Repeats every week" and "Weekly, with dates" also saves instantly, and warns you first if you have unsaved day edits.
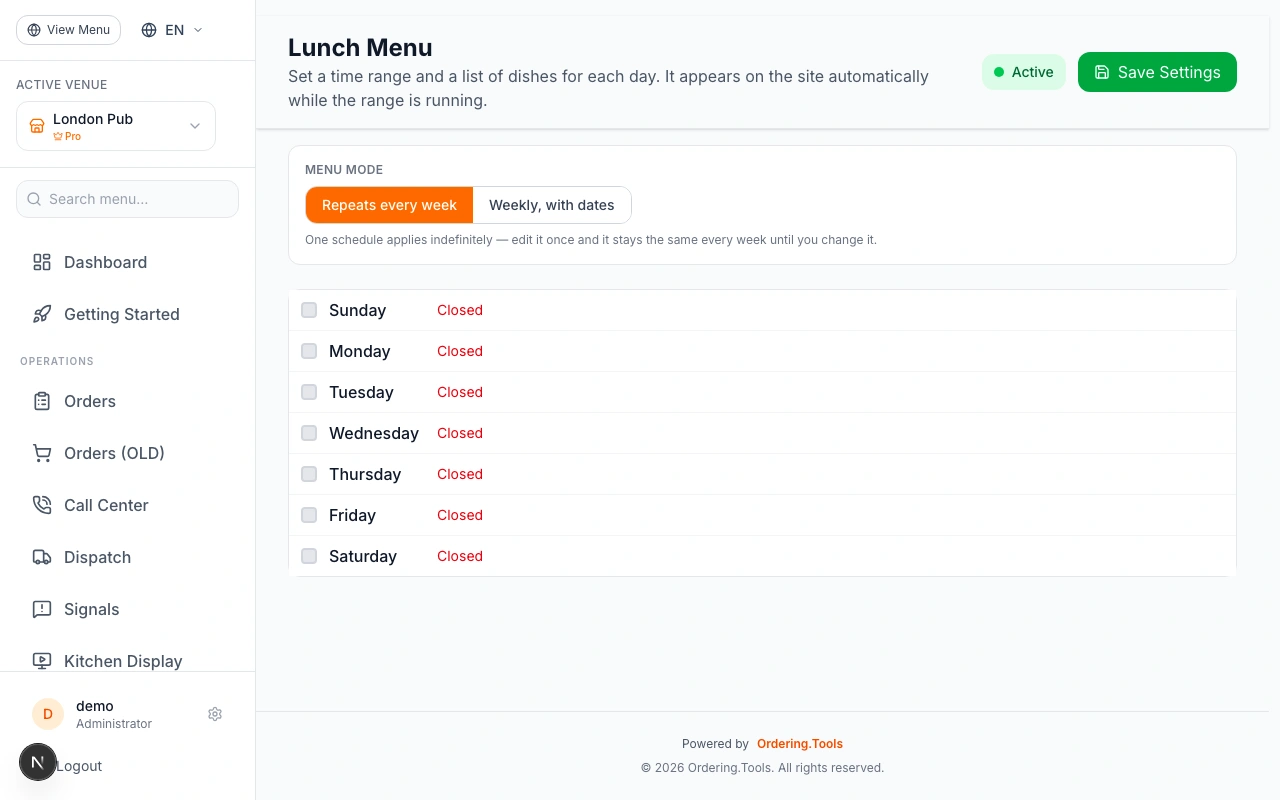
Open a Day and Set Its Time Window
Click on Monday to expand it. Turn its toggle on, then set the open and close time for the lunch window — for example 12:00 to 15:00.
Outside that window, your site shows the regular menu as normal; the lunch menu only takes over the day's pinned spot while it's running.
Every day is closed by default — only the days you open here can ever show a lunch menu.
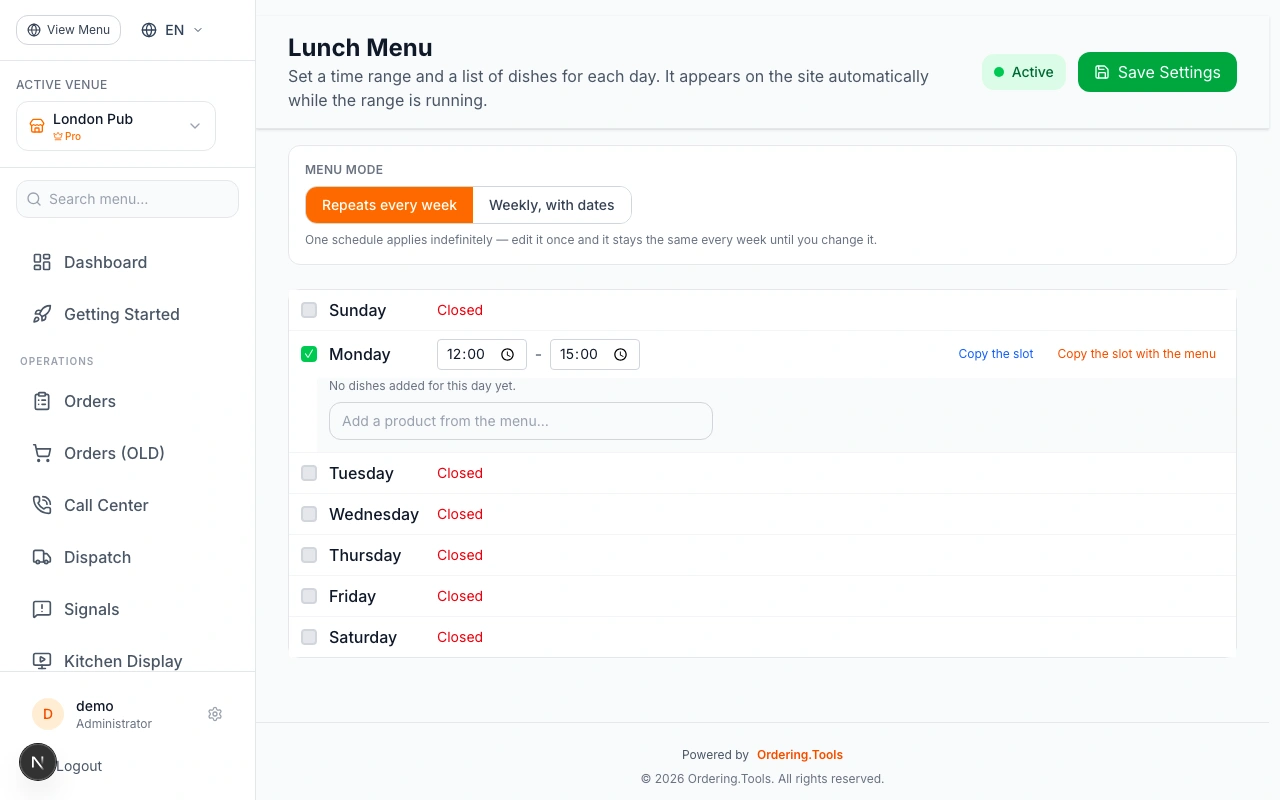
Add the Day's Dishes
Use the search box inside Monday's row to add dishes — it searches your existing product catalog, so there's nothing new to create. Add a couple of products; they appear as chips in the order you added them.
Drag a chip to reorder it — the order here is the order guests see on the site.
A dish keeps pulling its live price, photo and translations from the product — editing the product elsewhere updates the lunch menu automatically.
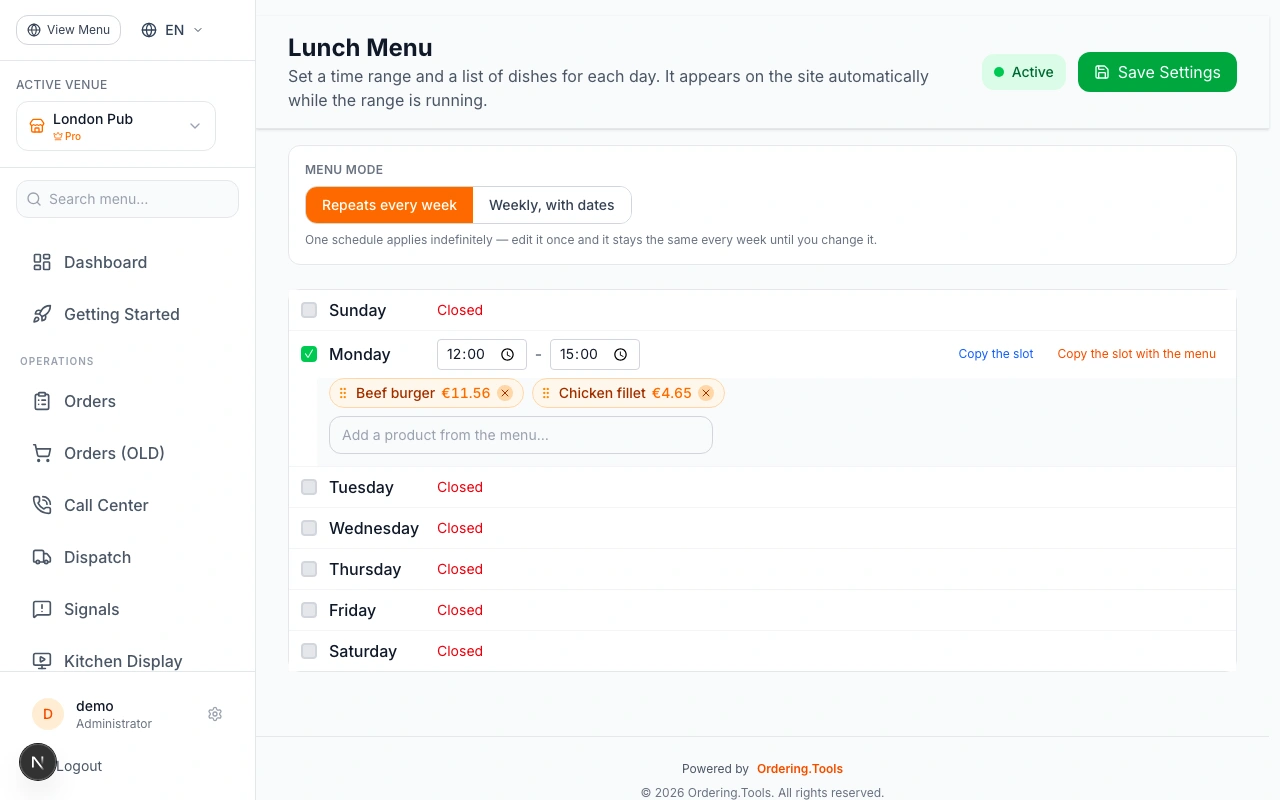
Copy the Slot to Every Other Day
Once Monday looks right, use one of the two copy buttons instead of repeating the work five more times.
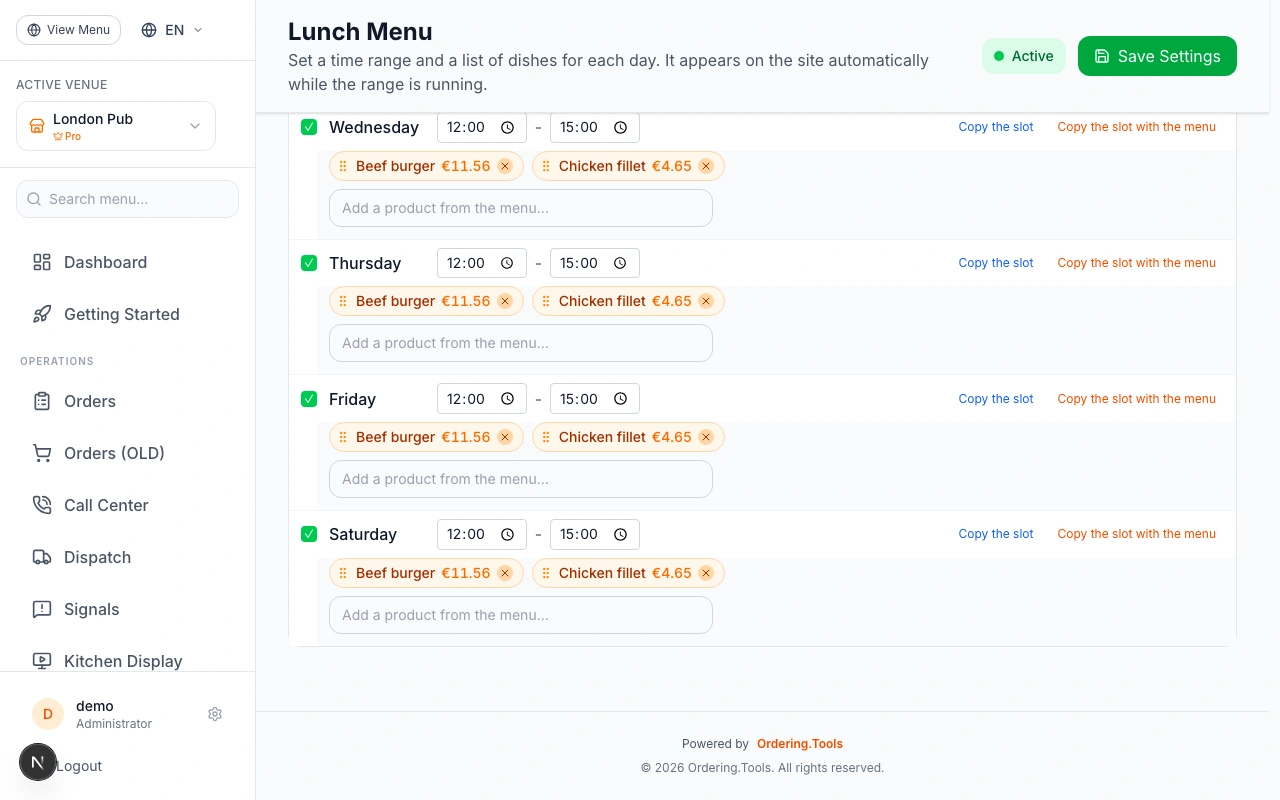
"Copy the slot" copies just the time window to every other day — useful when the hours are the same all week but the dishes change daily. "Copy the slot with the menu" copies the time window AND the dishes — useful when only a couple of days need to be different, which you then edit individually afterwards.
Both buttons overwrite every other day's current time and, for the second button, its dishes too — use them early, before you've customized the other days by hand.
Save Your Changes
Click "Save Settings" in the bar at the top of the page. A confirmation banner appears once it's saved.
If you're on "Weekly, with dates" mode, double check the week shown in the navigator before saving — each week is its own record, and a week you never configure shows nothing on the site rather than repeating a previous one.
Leaving the page with unsaved changes shows a warning first, so a half-finished week is never lost by accident.
Ready to Get Started?
Apply what you've learned and set up your restaurant in minutes