
Selling Products by Weight
Price a product per 100 grams, choose the sizes customers can order, and weigh the real portion in the kitchen so only that amount is charged.
Turn Weight Pricing On for the Venue
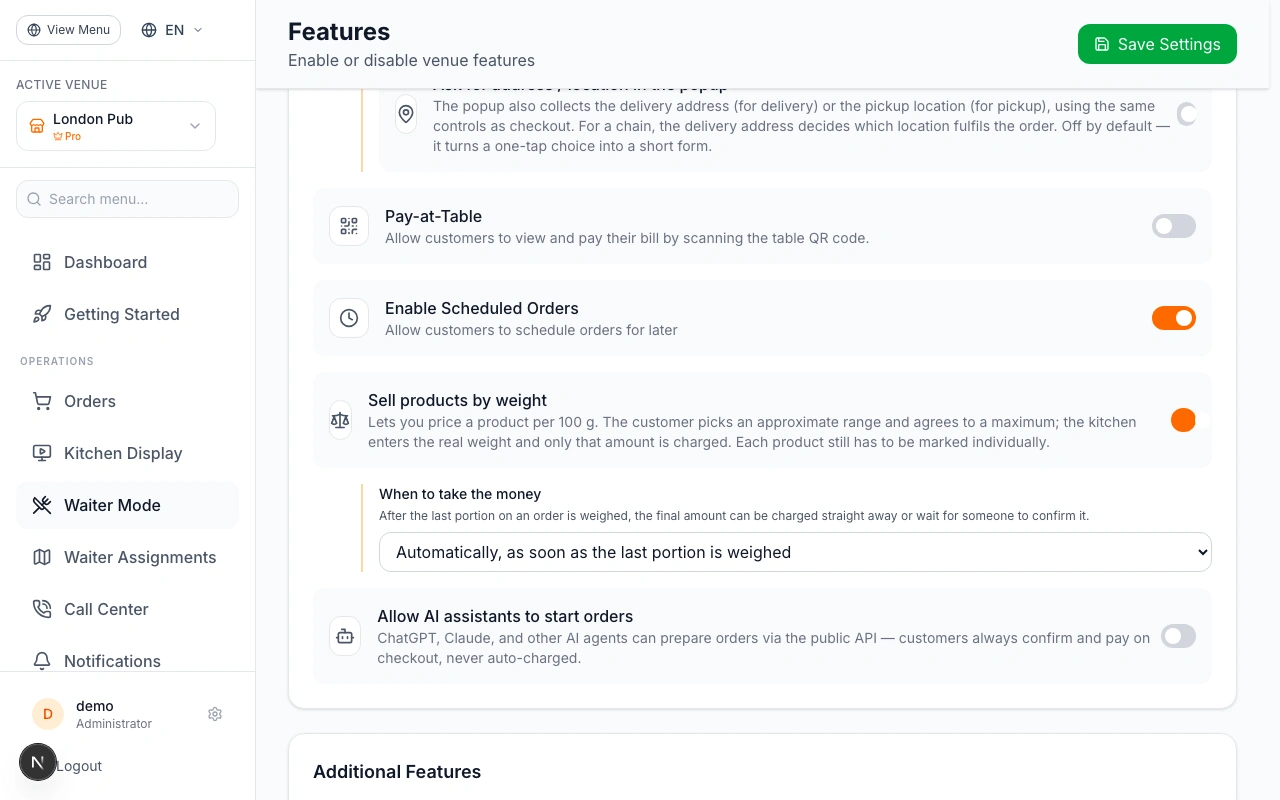
Open "Settings" in the admin sidebar and go to "Features". Scroll to the ordering section and turn on "Sell products by weight".
Until this is on, the weight options stay hidden everywhere else — this is the switch that makes them appear on the product form. It is available on the Pro plan and above.
Turning it on changes nothing on its own. Every product in your menu keeps its fixed price until you mark it individually in step 3.
Choose When the Money Is Taken
Right under the switch, pick when the final amount is charged.
"Automatically" charges as soon as the last portion on an order is weighed — the right choice for a busy kitchen, because nobody has to remember a second action.
"After a manager confirms" holds the order on a settlement screen until someone approves the figure. Use it while you are learning the flow, then switch to automatic.
You can change this at any time, and it applies to new orders only — an order already waiting to settle keeps the mode it was placed under.
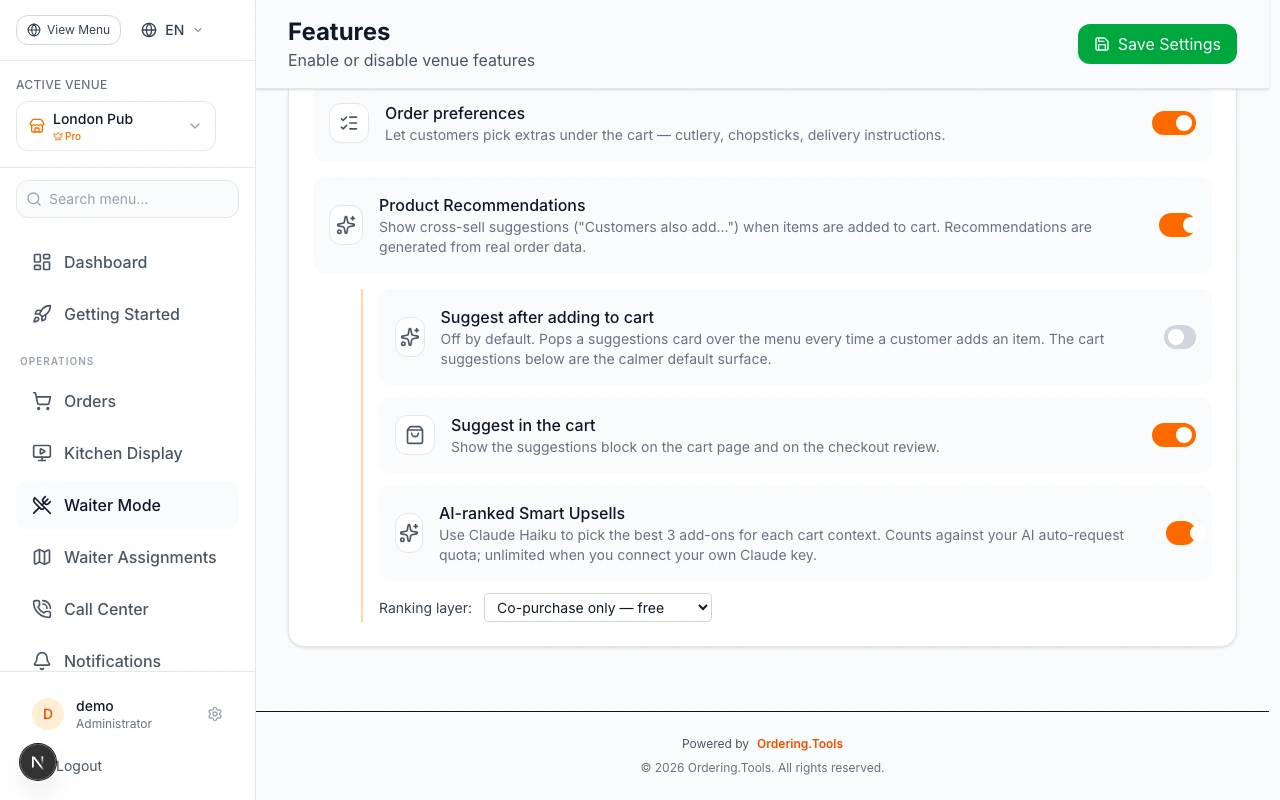
Create the Product and Set the Price per 100 g
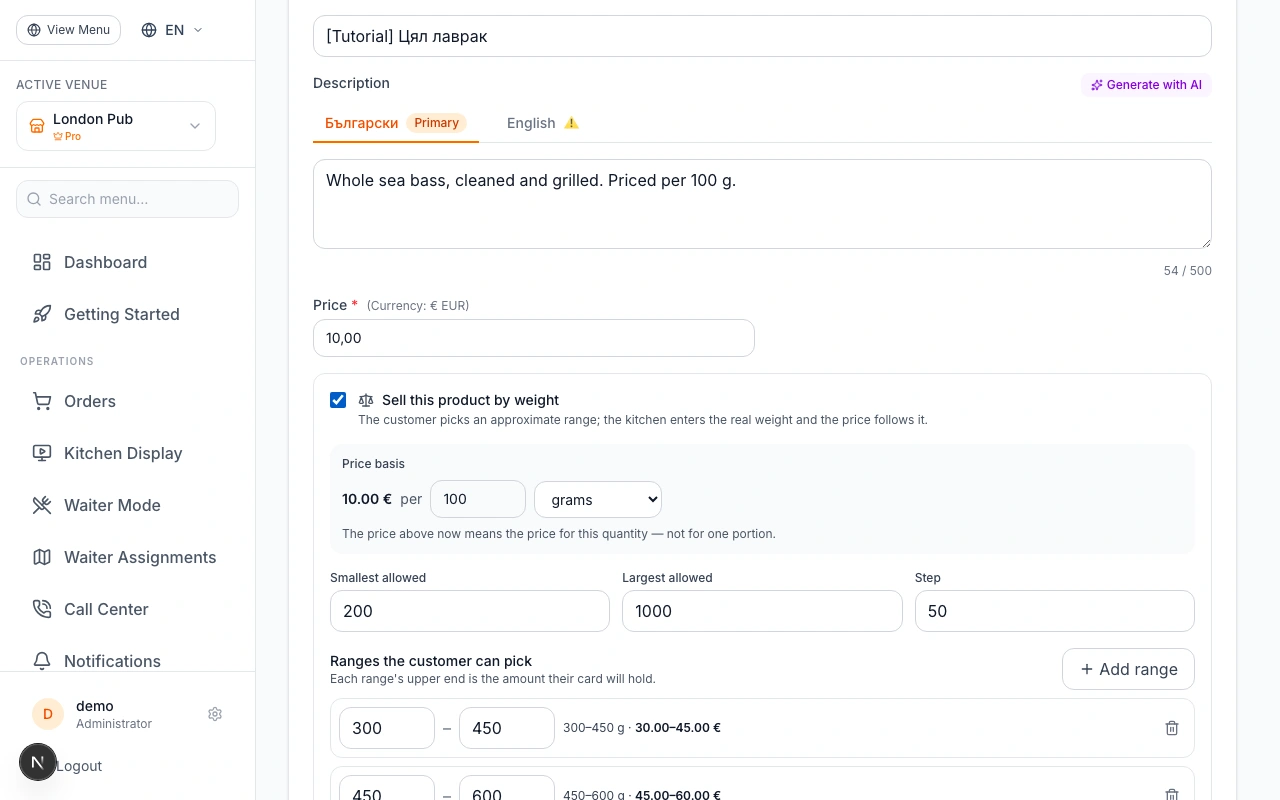
Go to "Products" and create a new one. Fill in the name as usual, then read the price field carefully: for a by-weight product this is not the price of a portion, it is the price for 100 grams.
Enter 10.00 and a 400 gram fish costs 40.00. Tick "Sell this product by weight" just below the price — the venue setting made the option available, this applies it to this one product.
The unit price shown on your menu is what consumer-protection rules expect when something is sold by weight. Setting it here is what puts it on the card.
Add the Sizes Customers Can Order
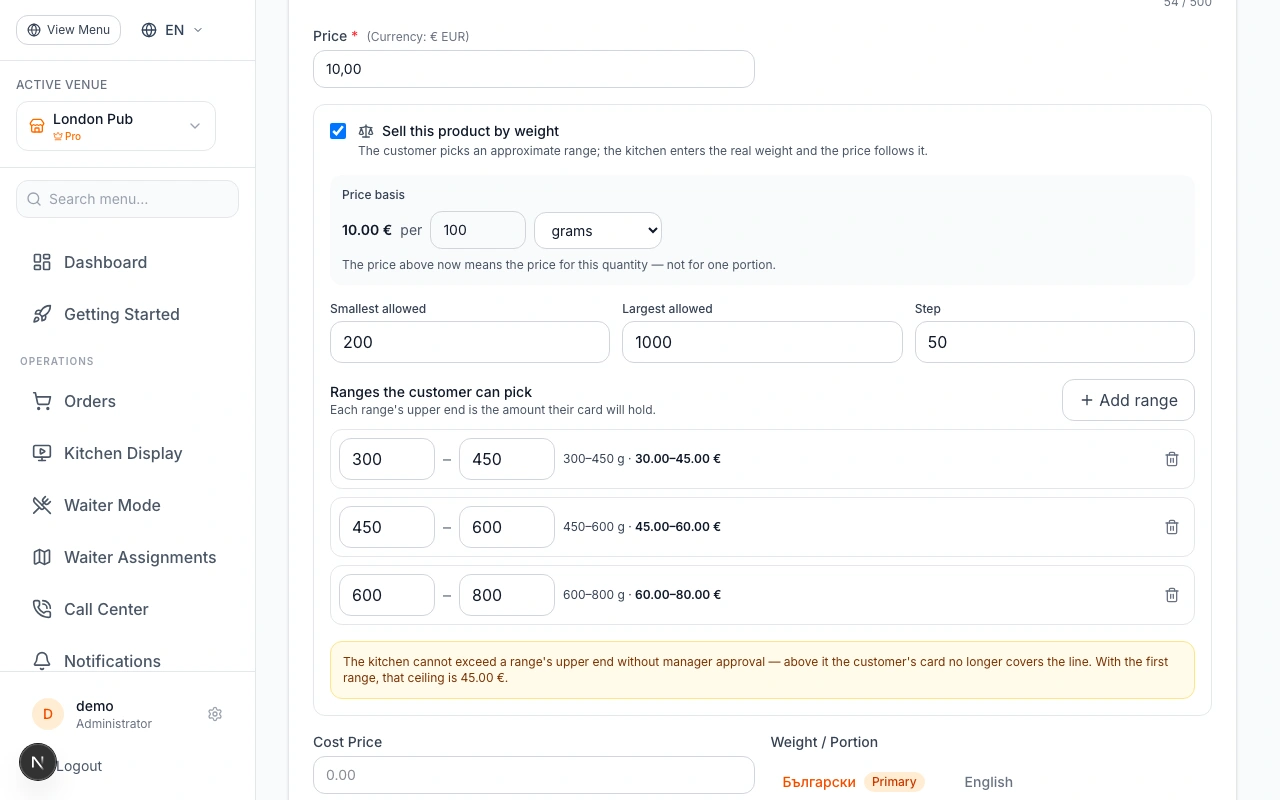
In the weight panel, set the smallest and largest weight you will accept, then add the ranges a customer picks from — for example 300–450 g, 450–600 g, 600–800 g.
Each range shows its price as you type it, so you can see exactly what you are offering. The upper end of a range is the amount reserved on the customer's card and the amount your kitchen may not exceed.
Two or three ranges is usually enough. Leave the list empty and the customer types a weight between your bounds instead.
Weigh the Portion on the Kitchen Screen
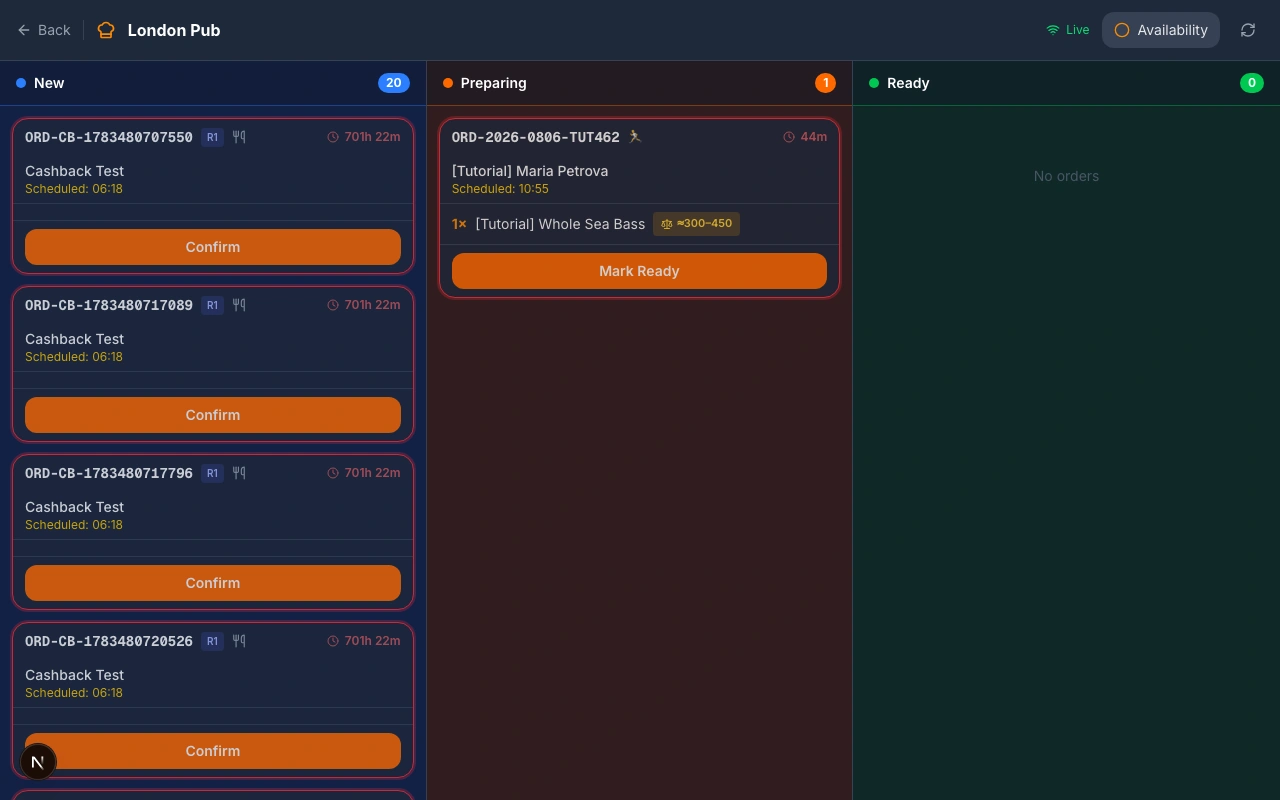
When the order arrives, the item shows on the Kitchen Display with an amber badge carrying the range the customer chose. Tap it and enter what the scale says — the common sizes are single taps, anything else goes in on a keypad.
The price updates live next to the weight, which is how a mistyped number is caught before it is saved. Above the range you agreed, the button locks and a manager has to approve it.
An order cannot be marked ready or sent out for delivery until every by-weight portion on it has been weighed — so a driver never leaves with the wrong amount to collect.
The Payment Settles Itself
That is the whole job. The line reprices, the order total follows, and on a card order the real amount is captured against the reservation placed at checkout — the rest is released automatically by the customer's bank.
The customer gets a message with the final weight and the final price, including the note that the difference is being released. On a cash order the courier simply collects the final amount.
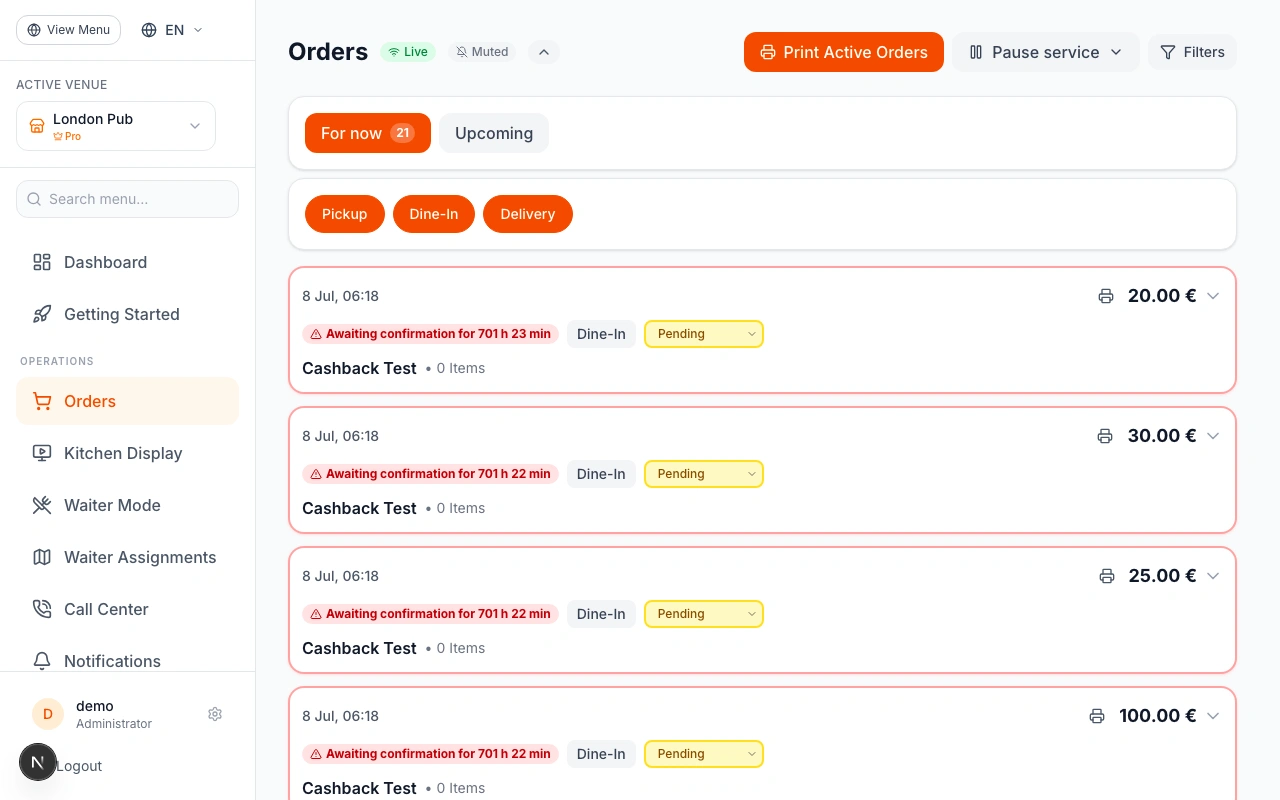
Check "Orders" after your first few by-weight orders. Seeing how often the real weight lands near the top or the bottom of your ranges tells you whether they are set sensibly.
Ready to Get Started?
Apply what you've learned and set up your restaurant in minutes