
Own Delivery Fleet Setup
Enable your own delivery fleet, add drivers, and manage dispatching from the control center.
Enable Own Delivery Fleet
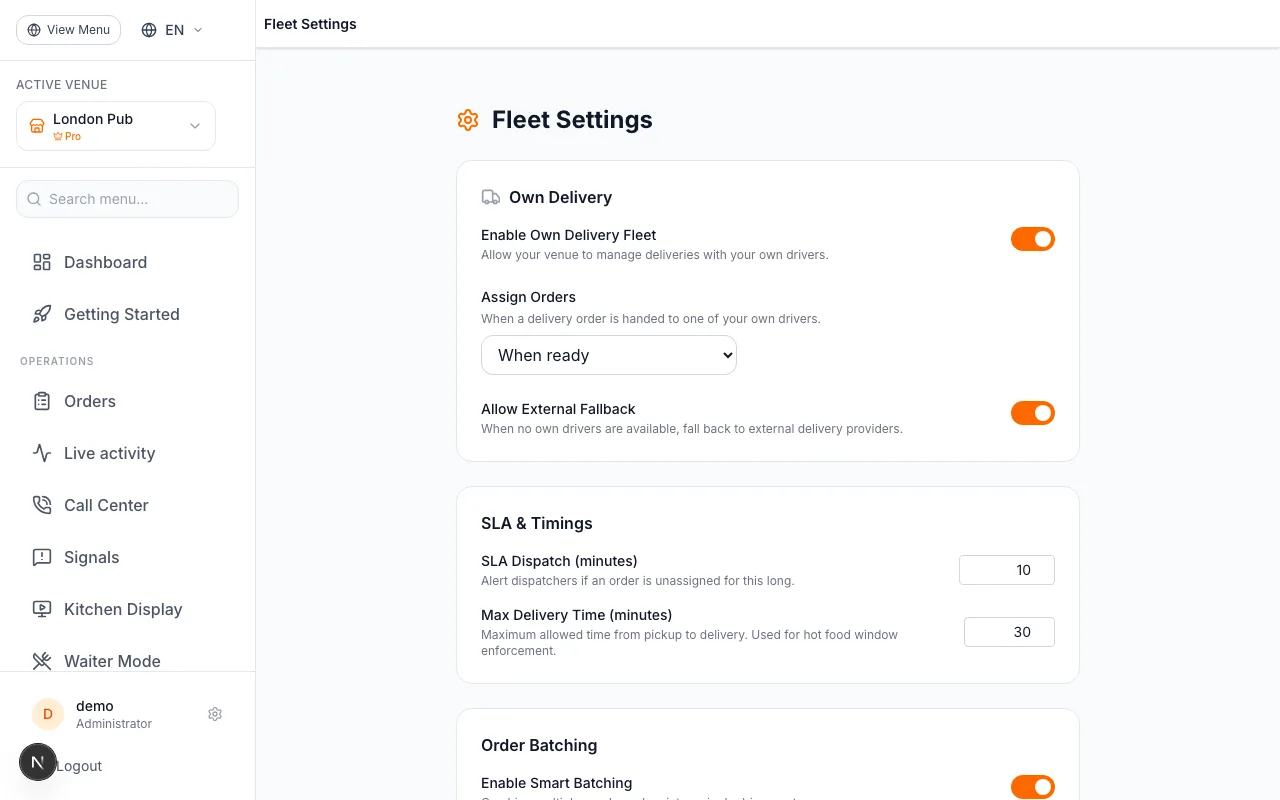
Navigate to Fleet Settings at /admin/delivery/settings. Toggle on "Enable Own Delivery Fleet" to unlock the full delivery fleet section in the sidebar — including the Dispatch dashboard, Drivers list, Analytics, and Fleet Settings.
Once enabled you can also configure:
- Auto-Assign: Let the system automatically pick the best available driver
- SLA Dispatch: Alert dispatchers if an order isn't assigned within N minutes
- Smart Batching: Group nearby orders into a single driver route
The Delivery Fleet sidebar section only appears after you enable Own Delivery Fleet. Navigate directly to /admin/delivery/settings to reach it the first time.
Add Your First Driver
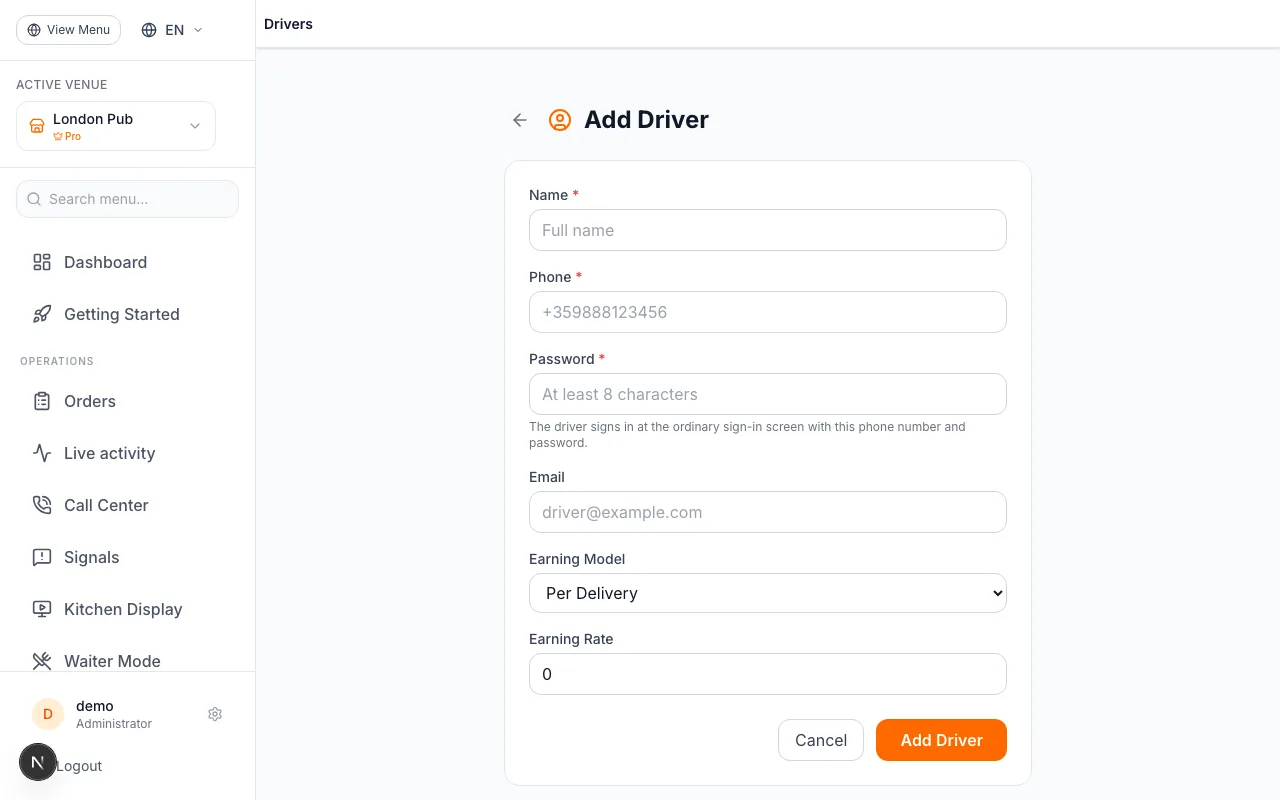
A driver is a user with the Driver role. Go to Drivers (it opens Users filtered to drivers) → Add User, pick the Driver role and fill in the name, the driver's phone number and a password of at least 8 characters. The phone number and this password are what the driver signs in with — there is no PIN and no separate driver login.
On the driver's user page, the Fleet section holds the earning model:
- Per Delivery: Fixed amount per completed delivery
- Per Hour: Hourly rate for shift-based drivers
- Per KM: Rate based on distance driven
Set the rate and save. The driver starts Offline.
Type the phone the way you dial it locally (0898…) or with the country code (+359898…) — it is stored in international form, and the driver can sign in with either. Too many wrong passwords lock the account; clear it with Unlock in the Fleet section of the driver's user page.
Set Driver Status to Online
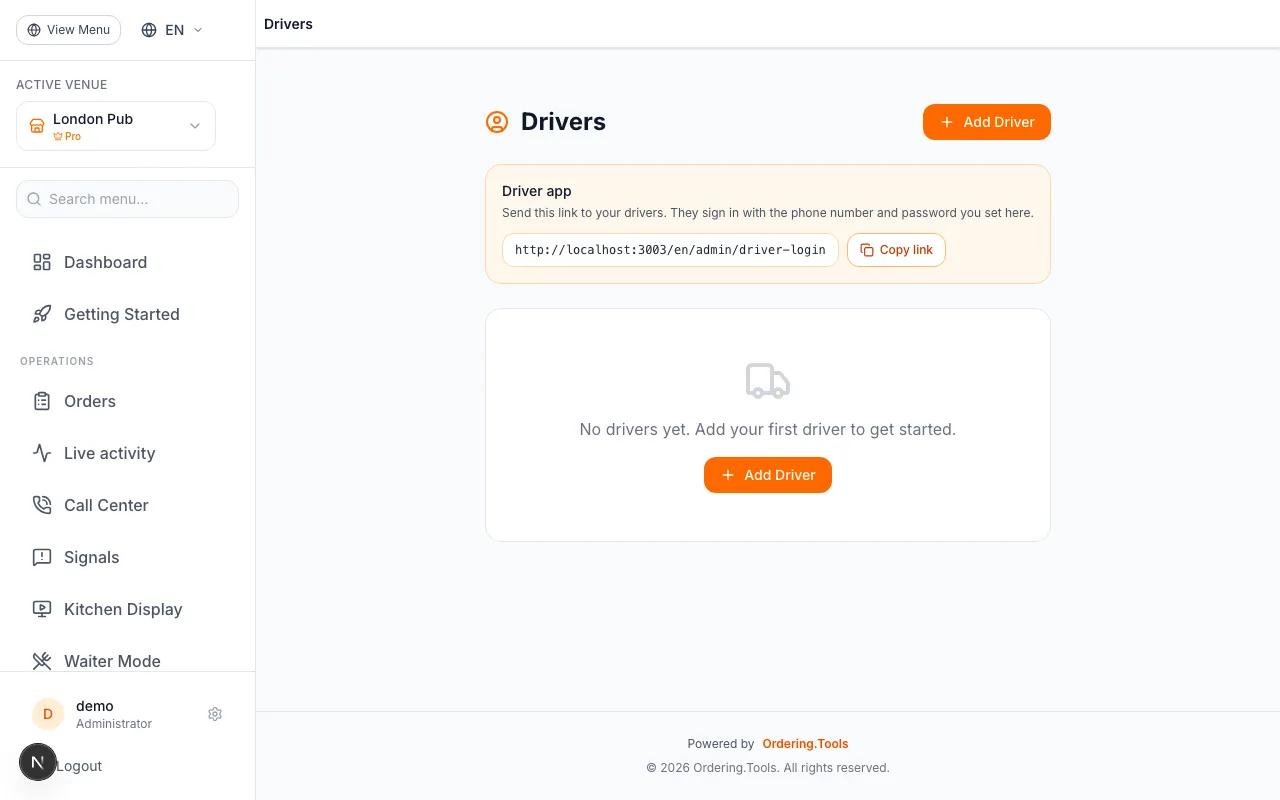
A driver goes Online from the driver app — Online, Offline or On Break — and shares their location from there. The Drivers list shows each driver's live status.
Only Online drivers with a recent location are offered for dispatch. The system never assigns orders to Offline drivers.
Ask the driver to allow location access when the app asks — a driver with no recent position is skipped by automatic assignment.
Dispatch Orders to Drivers
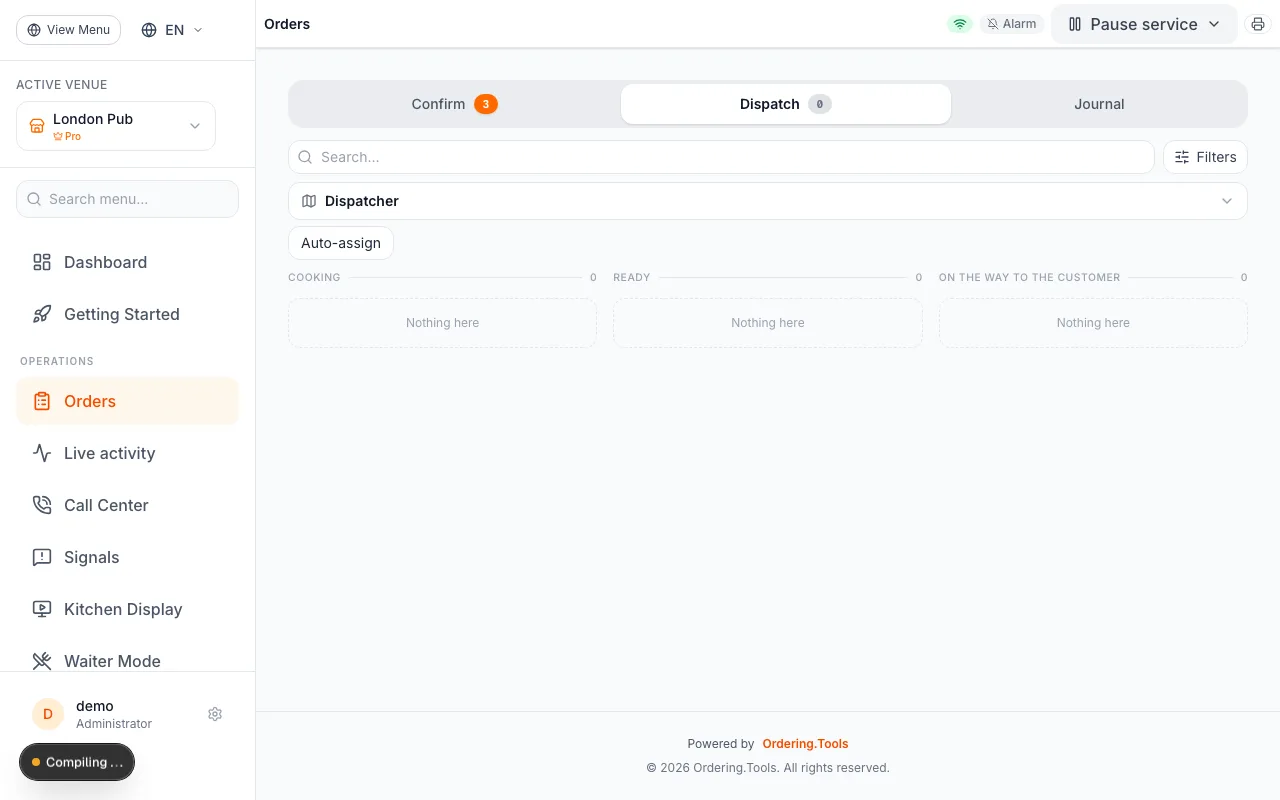
The Dispatch dashboard at /admin/delivery shows all active delivery orders in two columns:
- Unassigned Orders (left): New delivery orders waiting for a driver. Use the dropdown to pick an available Online driver and assign manually.
- Assigned Orders (right): Orders with drivers assigned, showing driver name and current status (Assigned, Accepted, Picked Up, Delivered).
Click "Auto-Assign All" to let the system automatically match unassigned orders to the best available drivers based on location and availability.
Auto-assign uses the nearest available online driver. For manual control, use the driver dropdown on each order card.
Driver Mobile App
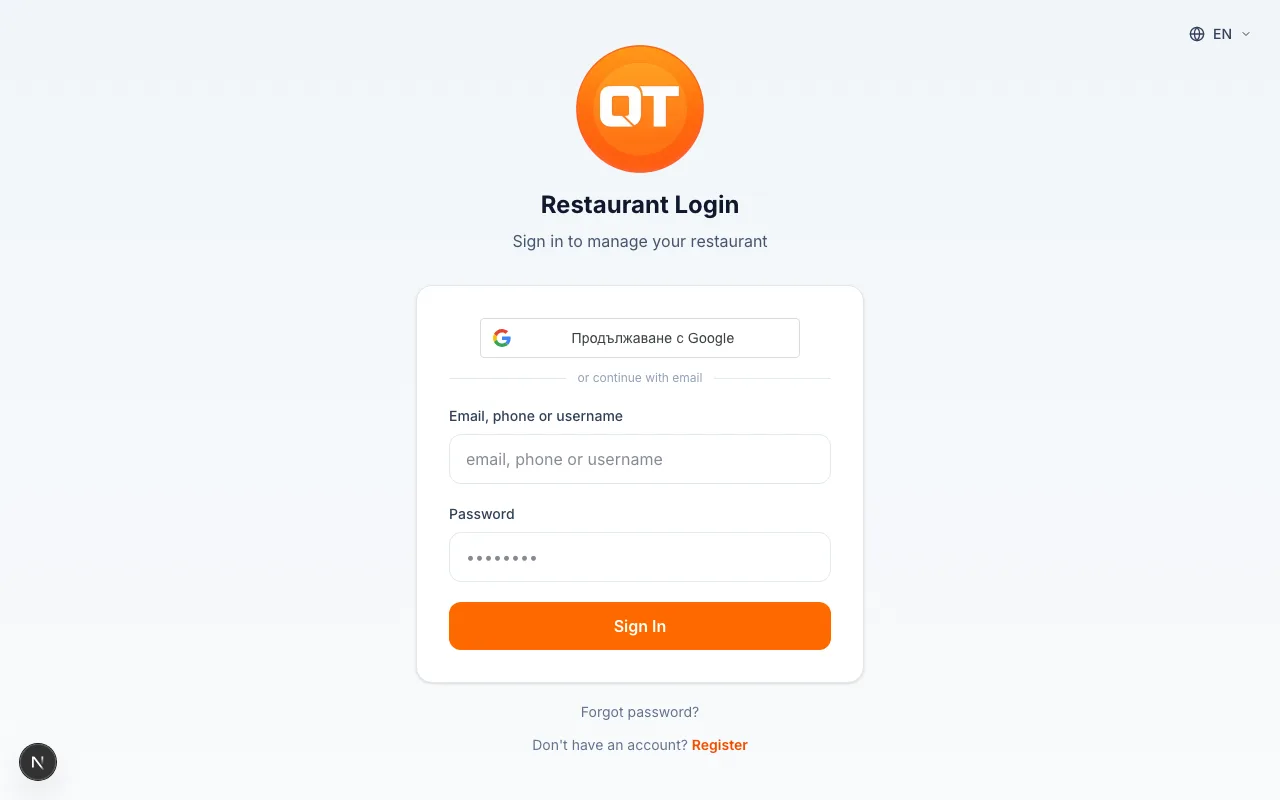
Drivers sign in at the ordinary sign-in screen — the same /admin/login every operator uses — with their phone number and password. The role decides what opens: a driver lands on their own delivery screen and can reach nothing else in the admin.
Once in, drivers can:
- See assigned orders with pickup address and customer details
- Accept or reject assignments
- Mark orders as Picked Up and then Delivered
- Upload a proof-of-delivery photo
- Share their GPS location with the dispatch center
- Message the dispatcher directly
The app works in any mobile browser — no installation required.
Send your drivers the sign-in address (/admin/login on your platform domain) or have them install the Ordering.Tools app. It works on any smartphone, Android or iPhone.
Ready to Get Started?
Apply what you've learned and set up your restaurant in minutes